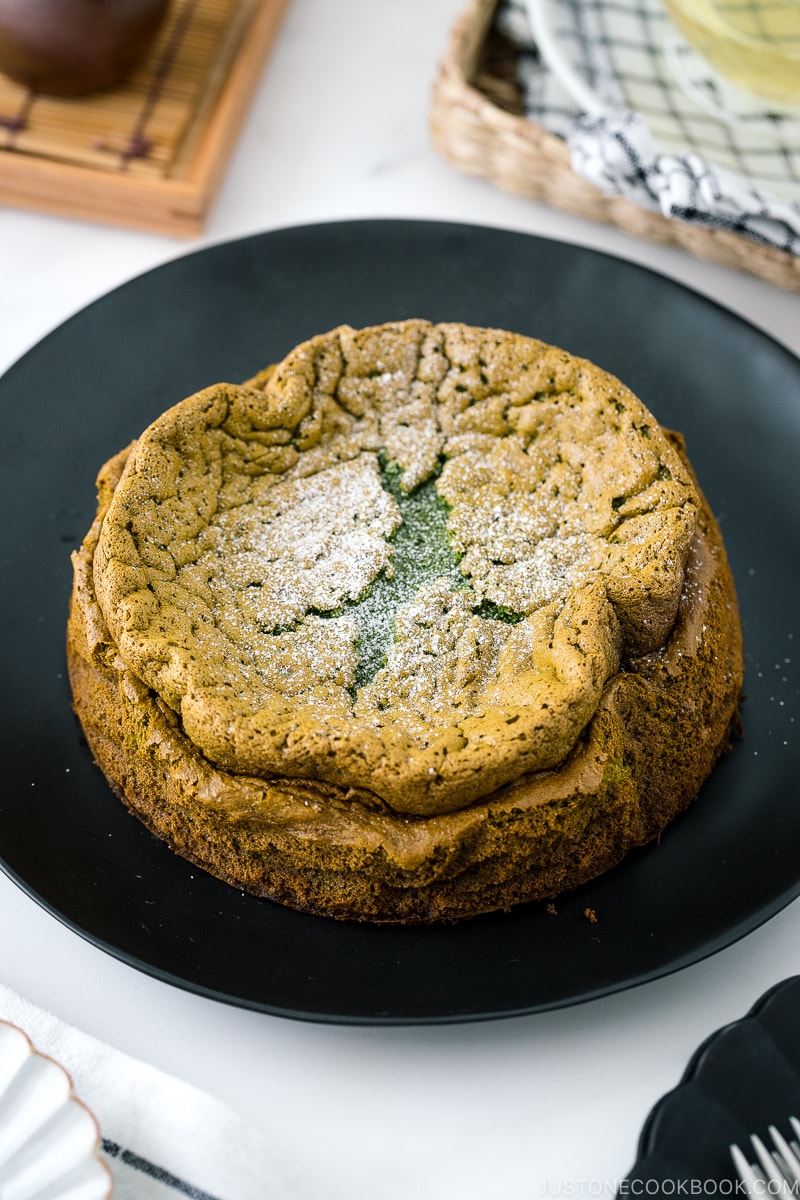
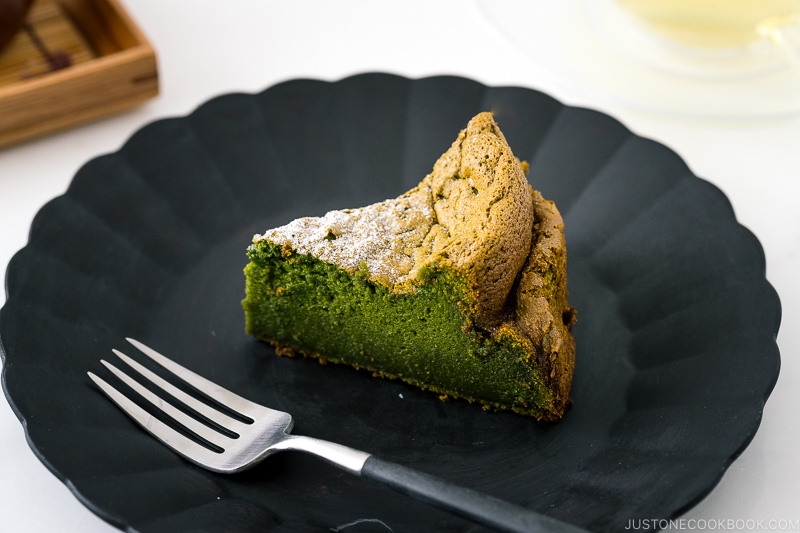
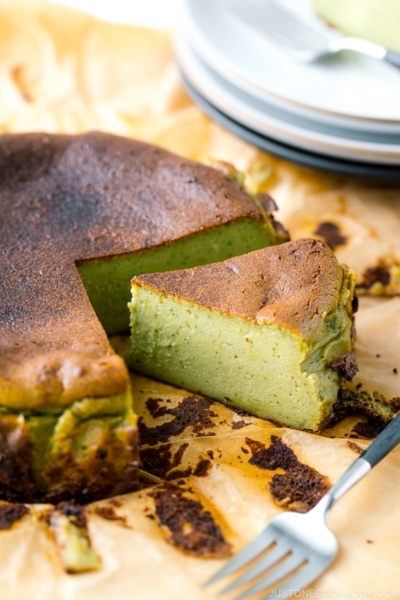
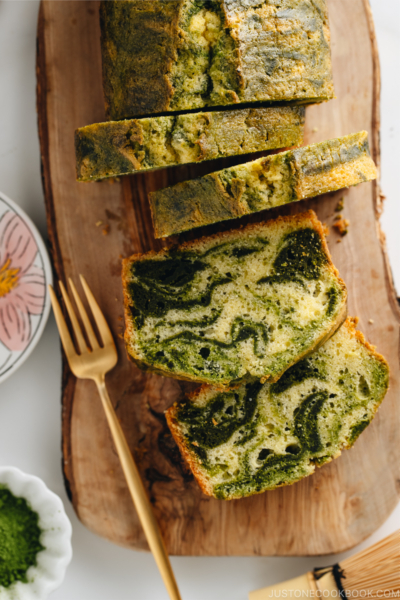
A popular Japanese rendition of the classic French chocolate cake, this Matcha Gateau au Chocolat is rich, moist, and intensely flavorful from white chocolate and green tea powder. This smooth, heavenly dessert is best enjoyed slightly warm with a hot beverage.
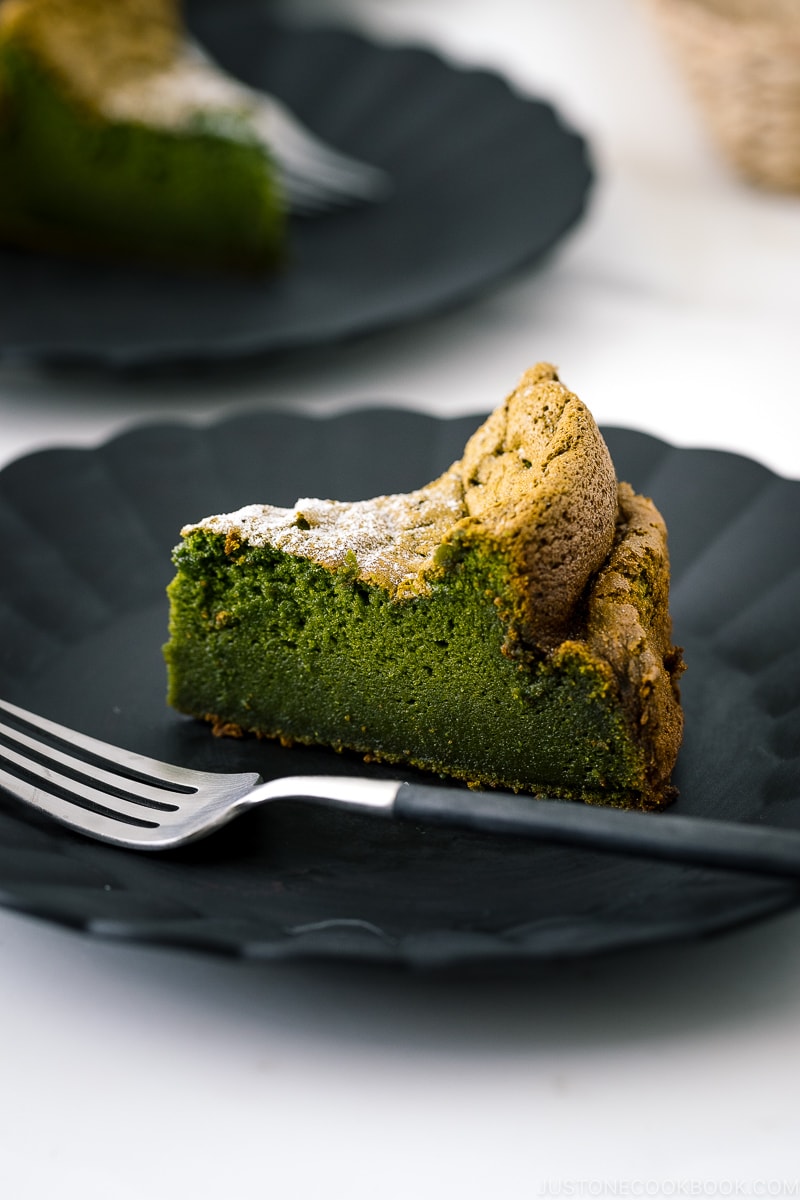
Are you a big fan of matcha desserts? If yes, I have a treat for you: a heavenly Matcha Gateau au Chocolat (抹茶ガトーショコラ) or Matcha Chocolate Cake. Smooth, rich, and deep with matcha flavor, it’s everything you need for a perfect cake that make your day. Imagine cozy up with a slice and a cup of coffee or green tea in hand. What simple joy in life!
What is Gateau au Chocolat
Before we begin, you may wonder about the origin of this dessert. Gateau au Chocolat is a French term for a chocolate cake. Every country must have its version of a popular chocolate cake.
In Japan, French-style pastries, Gateau au Chocolat, or what we call Gato Shokora (ガトーショコラ), is very popular, and we even have a green tea version made with white chocolate and matcha. That’s what we’re making today.
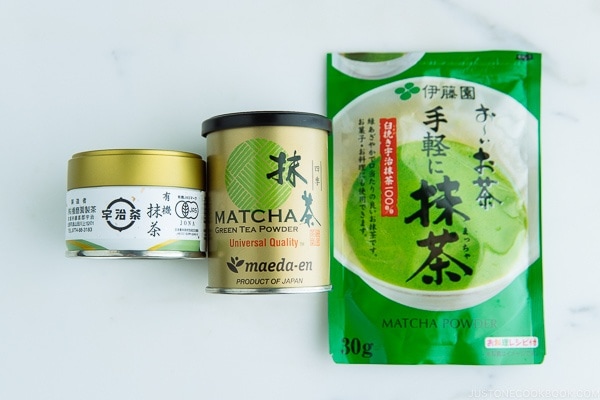
How to Decide Which Matcha to Use
I receive matcha-related questions a lot, so I want to cover this topic in this post. There are a few important tips to consider when you shop for matcha online.
Tip 1: Matcha quality is everything
When you buy matcha online, you can’t taste it so you have to rely on the color of matcha. The higher quality the matcha is, the brighter and more vivid the “matcha color” (yes, we go with the term “matcha color”).
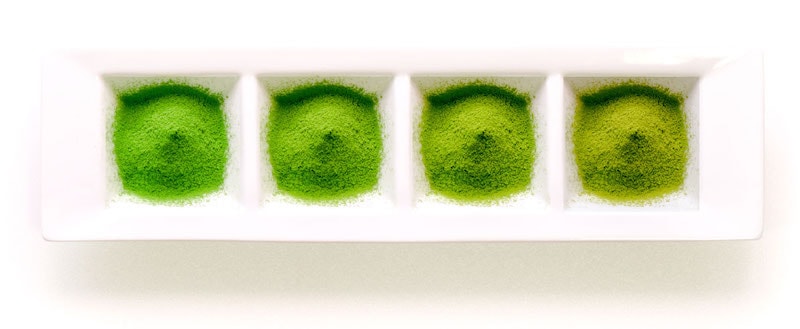
The good quality matcha has:
- A beautiful and vivid green
- A lovely fragrance
- More umami
- Less bitter taste
The low-quality matcha has:
- A yellowish/brownish green
- Less fragrance
- Less umami
- More bitter taste
If you buy from a good trustable tea shop, even the “low quality” matcha is a decent choice. You should also look for the country of origin for the matcha product. And remember to check the expiration date.
Many of you ask why your matcha dessert doesn’t have a nice color. The culprit is very likely the quality of the matcha.
Tip 2: Don’t buy matcha in a big bag or large volume
Premium quality matcha rarely goes on sale. Even if it does, do not buy in big volume because you need to use it in 2-3 weeks once you open the package. Matcha oxidizes and turns to yellow-green color as time passes. Unless you’re running a commercial bakery, I wouldn’t buy a big bag of matcha for home use.
Tip 3: Make sure it’s 100% matcha
Many of you may not notice – some matcha may contain sugar or milk powder. These products are for making latte. To make matcha desserts, you will need 100% pure matcha. Sugar and natural flavorings should not be included in the ingredients.
Where to Get Matcha
Your local Japanese grocery stores should carry a few brands of matcha. But if there are no stores in your area, you can try purchasing online and I have a few recommendations.
- Ippodo Matcha (一保堂; My favorite tea shop in Japan/NYC where I get all kinds of tea and matcha)
- Naoki Matcha (I’ve tried many of their matcha products for sponsorship, and they are all excellent quality)
- Maeda-en Matcha (Japanese grocery stores in the US usually carry this brand)
How to Make Matcha Gateau au Chocolat
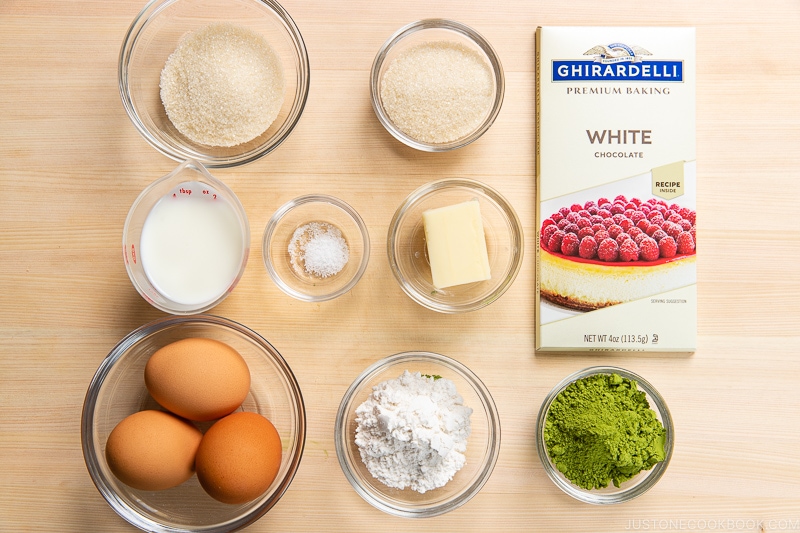
Ingredients You’ll Need
- White chocolate – please use “baking” white chocolate
- Unsalted butter
- Matcha
- Eggs
- Cake flour – You can make cake flour with all-purpose flour and cornstarch (see the recipe)
- Milk – I made this cake with whole and 2% milk and both work great!
- Salt
Cake Pan Size
I use the same 6×3 inch round cake pan that I use for Basque Cheesecakes (Regular and Matcha). If you want to use a different size pan, please adjust the ingredient amount and baking time. You will need to double the recipe for an 8-inch or 9-inch cake pan, and triple the recipe for a 10-inch or 11-inch cake pan. Please note that the thickness of the cake will be varied.
Overview: Cooking Steps
- Melt the chocolate and butter in a double boiler. Then, add the matcha and mix well.
- Whisk egg yolks and sugar, and add in the matcha mixture.
- Add milk and sift the flour into the mixture.
- Beat the egg whites and fold into the batter.
- Bake and let cool completely. Enjoy!
Important Tips to Remember
- We use a double boiler to melt the chocolate and butter. A double boiler consists of a pot and a heatproof metal or glass bowl that fit together snugly—the top bowl holds the ingredient(s); the bottom holds simmering water. Unlike a water bath, the water in a double boiler doesn’t touch the top bowl.
- Beat egg yolks and sugar until the mixture becomes pale yellow and thick and forms a ribbon.
- Don’t over-mix the cake batter after the flour is added. Overmixing can lead to cakes that are tough, gummy, or unpleasantly chewy.
- You can beat egg whites with a whisk but your arms may fall off. It is easier to use an electric hand-held mixer or a stand mixer.
- Fold (not mix!) the beaten egg whites into the cake batter. What you’re doing is making the batter light and fluffy by incorporating air into the mix. I’ll explain in detail in the recipe card below.
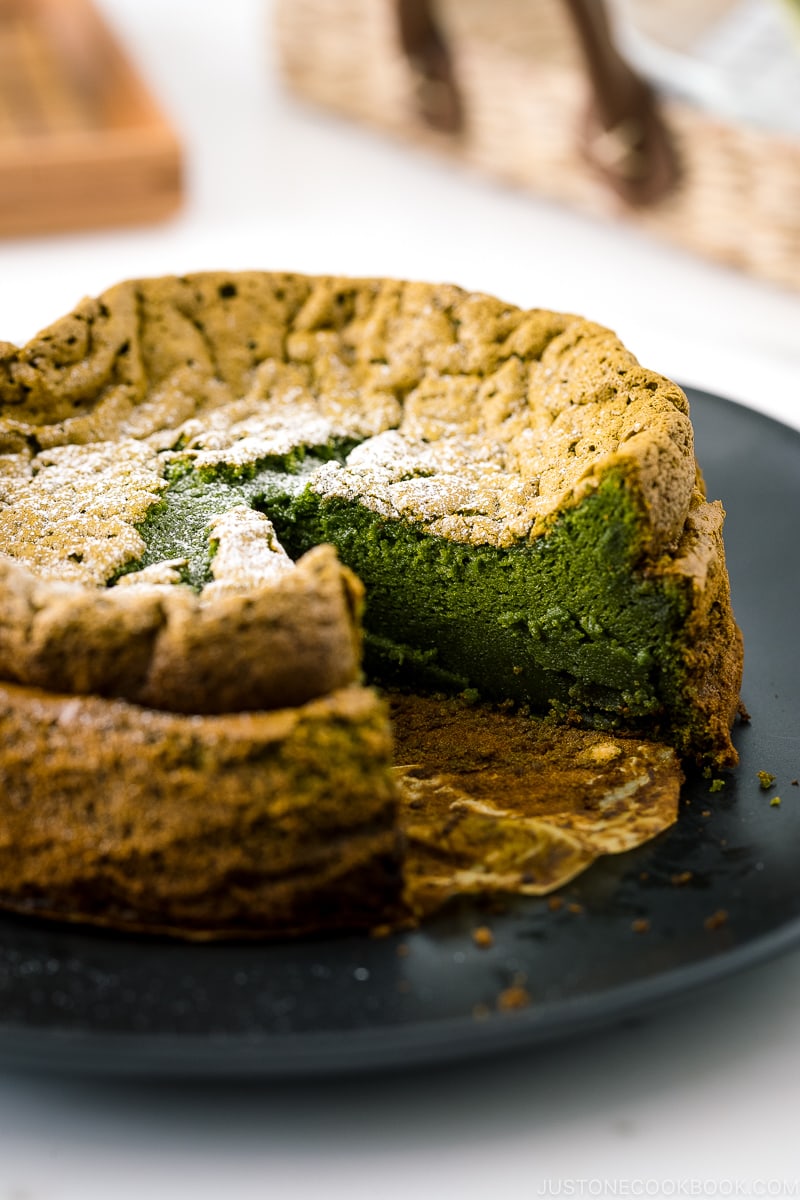
- We will be baking at 2 different temperatures; first 350ºF (180ºC) for 15 minutes and then reduce to 325ºF (160ºC) for 20 minutes. No need to insert a skewer into the cake as the chocolate is woozy inside. The cake should be slightly wobbly when you take it out of the oven.
- It’s best to let cool completely, for about 4 hours, because the inside is wobbly and woozy when it’s finished baking so it’s impossible to cut. You can keep the cake in the refrigerator overnight.
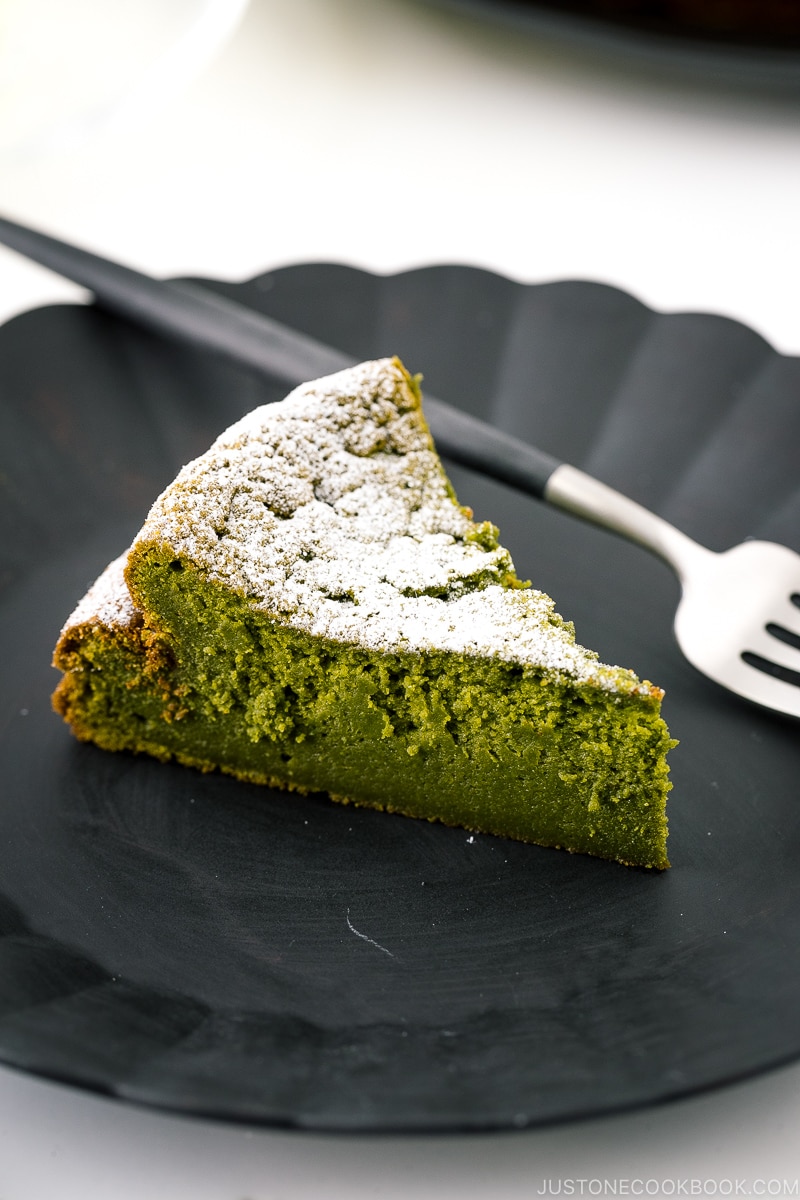
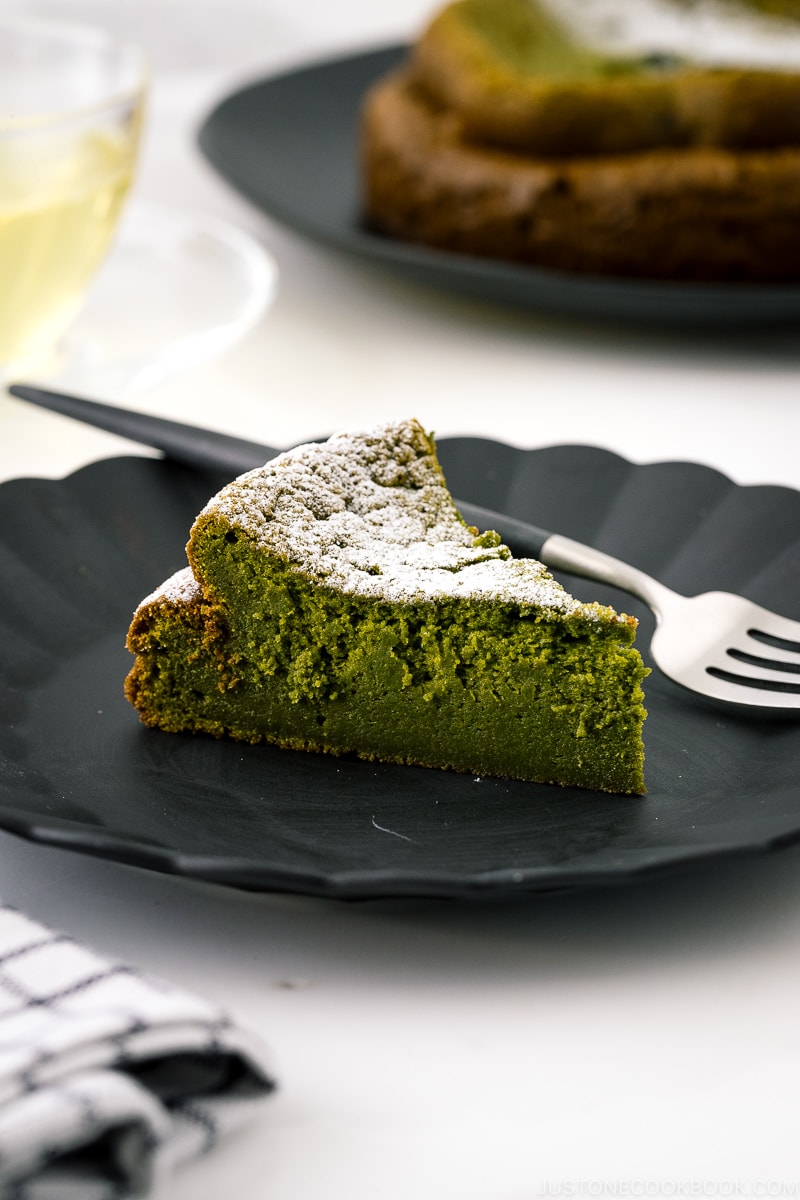
- I highly recommend microwaving a slice for 5 seconds (from the fridge) to warm up the matcha chocolate cake. It literally melts in your mouth!
Favorite Matcha Recipes on JOC
- Matcha Basque Cheesecake
- Matcha Chocolate
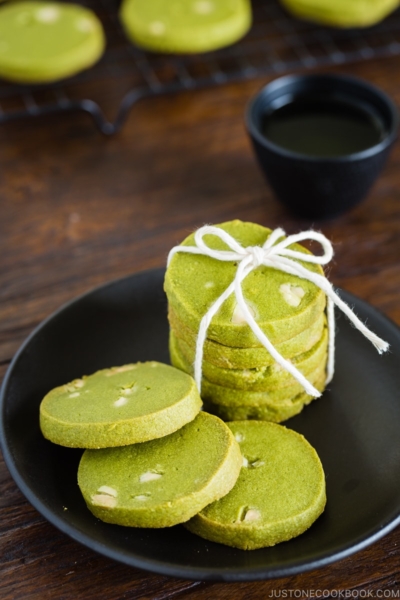
- Matcha Cookies
- Matcha Donut (Baked)
- Matcha Ice Cream
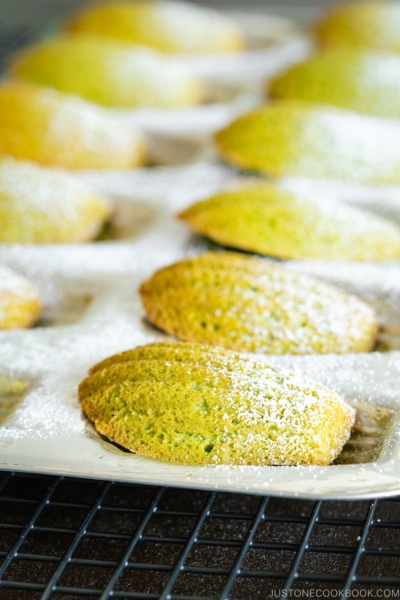
- Matcha Madeleine
- Matcha Marbled Pound Cake
- Matcha Mille Crepe Cake
- Matcha Swiss Roll
- Matcha Souffle Pancake
- Matcha Tiramisu
Wish to learn more about Japanese cooking? Sign up for our free newsletter to receive cooking tips & recipe updates! And stay in touch with me on Facebook, Pinterest, YouTube, and Instagram.

Matcha Gateau au Chocolat
Video
Ingredients
- 3.5 oz white chocolate (I used 1 white chocolate bar weighing 4 oz/113.5 g per bar and removed 1 square of chocolate to get the correct weight; or weigh it with a kitchen scale)
- 3 Tbsp unsalted butter
- 3 Tbsp matcha (green tea powder)
- ¼ cup whole milk (or substitute 2% reduced fat milk)
- 3 large eggs (50 g each w/o shell) (yolks and whites separated)
- 3 Tbsp sugar (for the egg yolks)
- 3 Tbsp cake flour (weigh your flour or use the “fluff and sprinkle“ method and level it off; DO NOT use a different type of flour; you can make your own Homemade Cake Flour)
- ⅛ tsp Diamond Crystal kosher salt
- 3 Tbsp sugar (for the egg whites)
For Serving
- 1 Tbsp confectioners’ sugar (optional; for dusting)
Instructions
Before You Start…
- Please note that this cake requires a cooling time of 4 hours. Once cooled, you can serve it or chill it overnight in the refrigerator.
- Gather all the ingredients. I highly encourage you to weigh your ingredients using a kitchen scale for this recipe. Click on the “Metric“ button at the top of the recipe to convert the ingredient measurements to metric. If you‘re using a cup measurement, please follow the “fluff and sprinkle“ method: Fluff your flour with a spoon, sprinkle the flour into your measuring cup, and level it off. Otherwise, you may scoop more flour than you need.
- Preheat the oven to 350ºF (180ºC). For a convection oven, reduce the cooking temperature by 25ºF (15ºC). Line a 6-inch (15-cm) round cake pan with parchment paper (I use a 6- x 3-inch pan). I spray oil on the pan first so the parchment paper will stick to the pan. Note: If you’re using a larger pan, see the Cake Pan Size section of my blog post for how to adjust the recipe.

To Mix the Batter
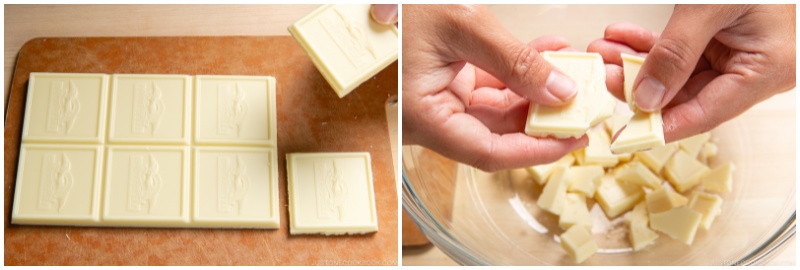
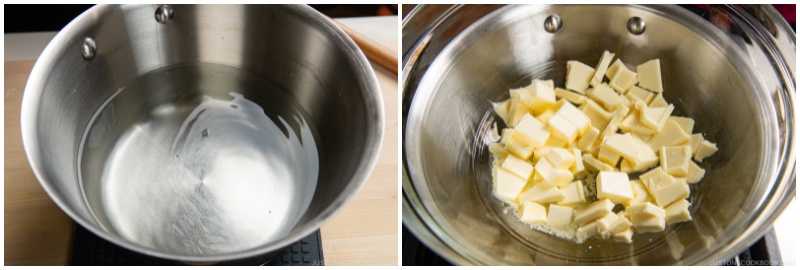
- Break or chop up 3.5 oz white chocolate into smaller pieces and put them in a heatproof large metal or glass mixing bowl (make sure the bowl is moisture- and grease-free).
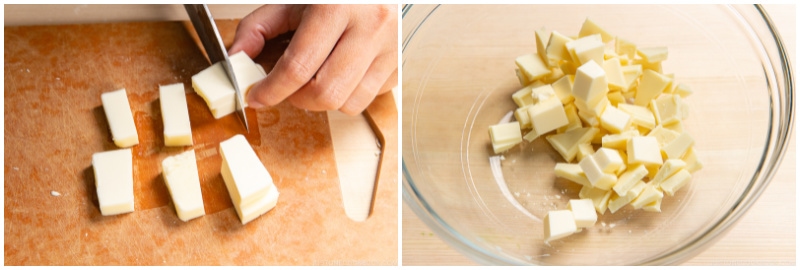
- Cut 3 Tbsp unsalted butter into small cubes and add to the bowl with the white chocolate.
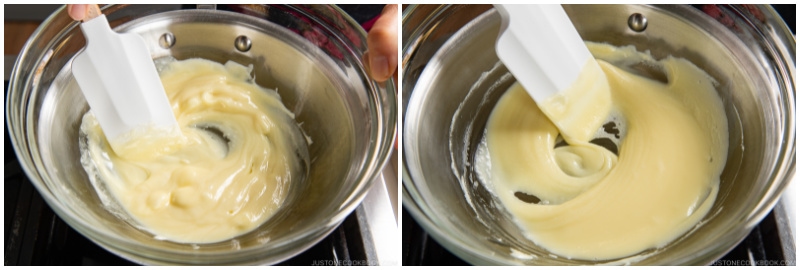
- To set up a double boiler, bring 2 inches of water in a pot to a gentle simmer and then rest the bowl with your ingredients on the pot. You want it to fit snugly without touching the water. Melt the chopped white chocolate and butter in the double boiler.
- With a silicone spatula, mix and let the chocolate and butter melt completely.
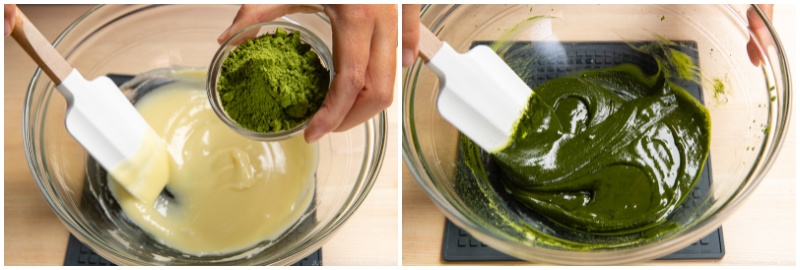
- Carefully remove the bowl from the double boiler. Make sure the steam or water doesn‘t get into the chocolate mixture or the chocolate will seize up. Add 3 Tbsp matcha (green tea powder) and mix them all together completely with the spatula, making sure there are no lumps.
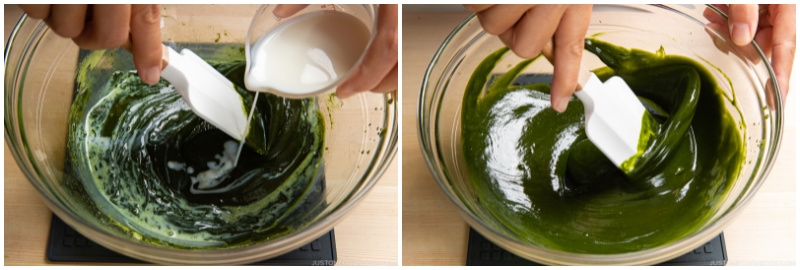
- Gradually add ¼ cup whole milk as you stir. Mix it together well.
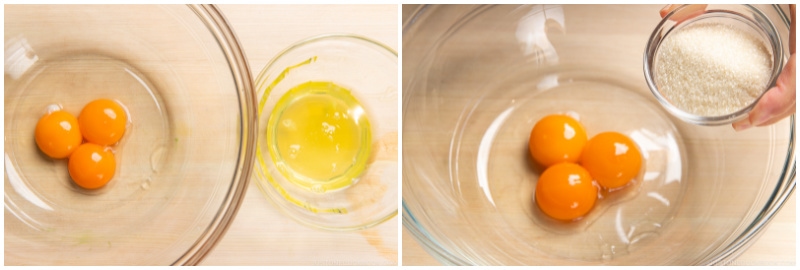
- Separate the egg whites and yolks of 3 large eggs (50 g each w/o shell). Put the whites in a small bowl and the yolks in a large bowl. Refrigerate or freeze the bowl with the egg whites for 15 minutes until cold. (It‘s okay if the egg whites are partially frozen). Tip: In Japan, we chill the egg whites to make smooth, fine-textured meringue and do not use cream of tartar.Next, add 3 Tbsp sugar to the bowl with the yolks.
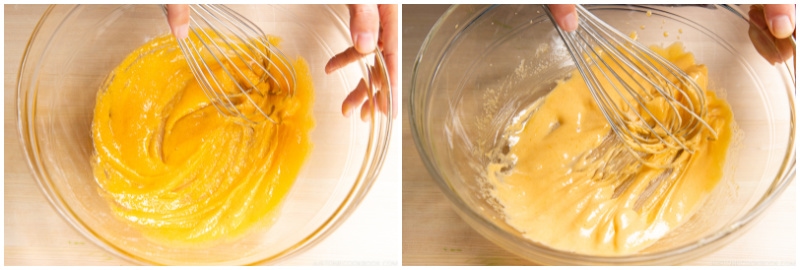
- Whisk the egg yolks and sugar vigorously with a hand whisk until the mixture is a creamy, pale yellow color.
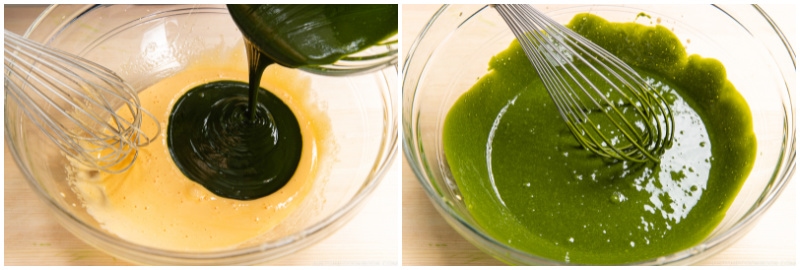
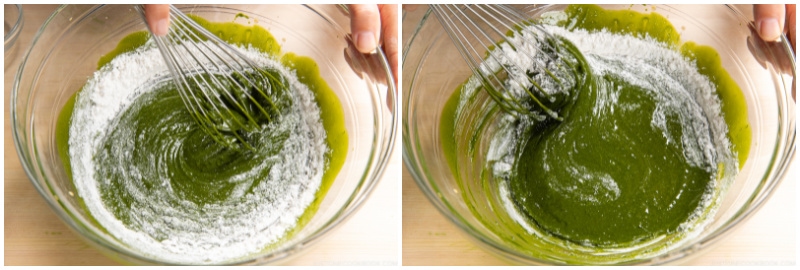
- Add the matcha chocolate mixture to the egg yolk mixture and mix the batter well.
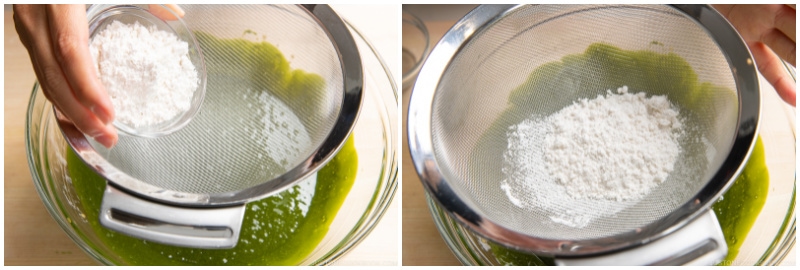
- Use a flour sifter or fine-mesh sieve to sift 3 Tbsp cake flour into the batter.
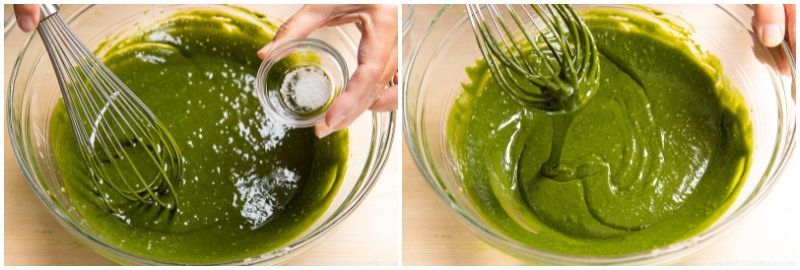
- Gently whisk the cake batter until the flour is just incorporated. Do not overmix.
- Add ⅛ tsp Diamond Crystal kosher salt and mix it all together.
To Make the Meringue
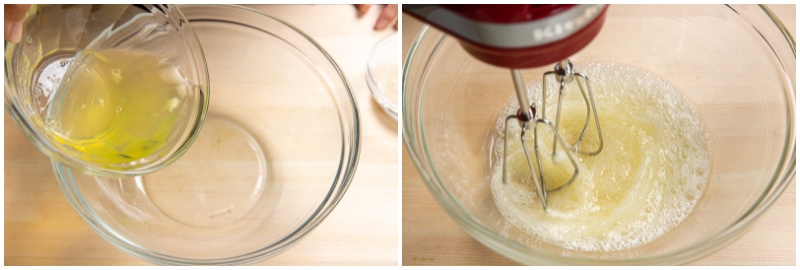
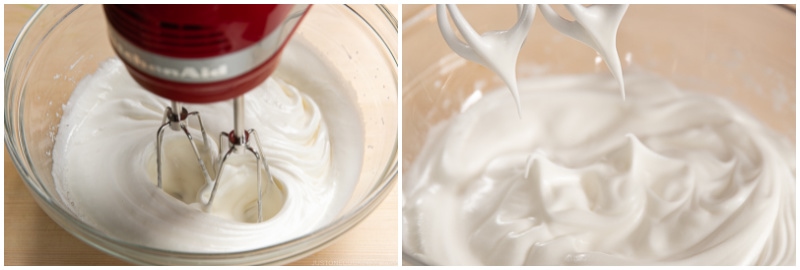
- Remove the egg whites from the refrigerator or freezer and add them to a clean, large bowl. Using an electric hand mixer or a stand mixer with a whisk attachment, start whipping the egg whites on medium-low speed (or Speed 4 on a KitchenAid stand mixer) until the egg whites are bubbly, opaque, and foamy.
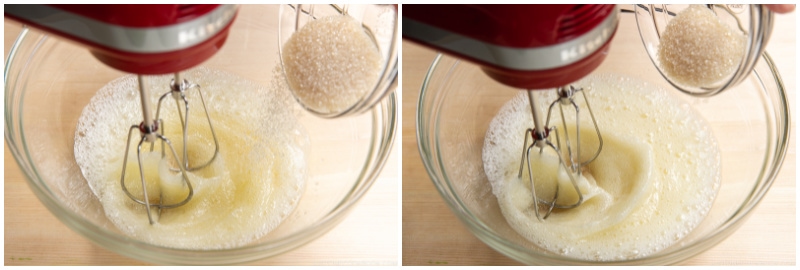
- Gradually add 3 Tbsp sugar to the bowl while beating. Then, increase the mixer speed to high (or Speed 10 on a stand mixer). Beat vigorously until stiff peaks form (see the next step for how to check). It takes about 2 minutes of beating at high speed to reach stiff peaks. Tip: When using a stand mixer, I usually pause beating when the egg whites are almost done. I take off the whisk attachment from the mixer and use it to hand-mix the looser egg whites near the bowl‘s edge into the stiffer whites near the center until it‘s all homogenous in texture. Then, put the whisk back on and continue beating.
- To check for stiff peaks, pull up your beaters or whisk. The meringue in the bowl or on the beaters/whisk should be firm enough to hold a peak, pointing straight up (or maybe folding over a little bit just at the very tips). By this time, the meringue should have a glossy texture, too. Tip: If you overbeat the meringue, it will become very stiff and grainy and won‘t incorporate into the batter at all.
To Fold In the Meringue
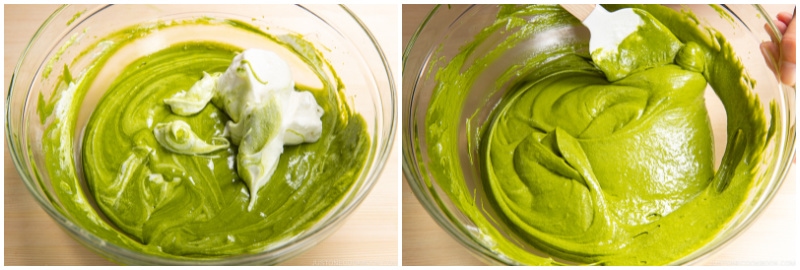
- Using the spatula or a hand whisk, add one-third of the meringue into the batter. Mix well by hand until it‘s homogeneous.
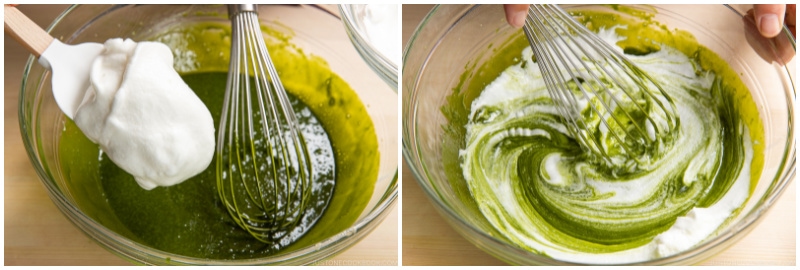
- Gently fold in another one-third of the meringue. Take care not to deflate the air bubbles in the meringue and batter as you fold. Finally, add the remaining whites and repeat the folding motion until the foam is just incorporated. Take care not to deflate the air bubbles in the meringue and batter as you fold. Once it's well combined and homogeneous, fold the batter one last time and scrape the sides and bottom of the bowl to make sure there is no chocolate accumulation. The final batter should fall in ribbons when you lift the spatula or whisk.
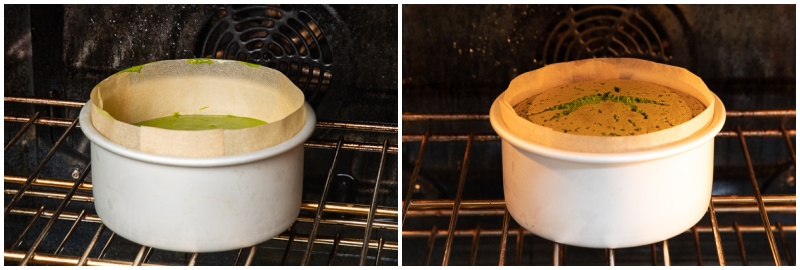
To Bake
- Transfer the cake batter into the prepared cake pan. Smooth out the surface with the spatula.
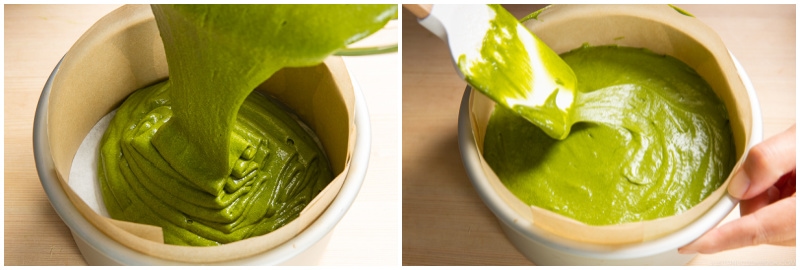
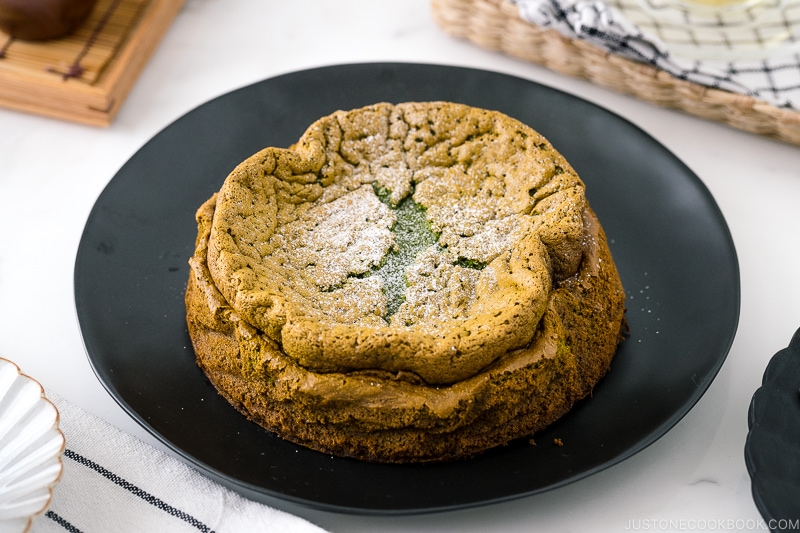
- Bake at 350ºF (180ºC) for 15 minutes, then reduce the temperature to 325ºF (160ºC) and bake for another 20 minutes. When the cake is done baking, the center will still wobble slightly. The inside of the cake will be soft and moist, so you can’t insert a skewer to check doneness. Remove the pan from the oven and set it on a wire rack to cool completely, about 4 hours (otherwise, it‘ll be impossible to cut). If you‘d like, you can cover the cooled cake and keep it in the refrigerator overnight.
To Serve
- Remove the cake from the refrigerator (if you‘ve chilled it) and slice the cake. I highly recommend warming the chilled cake slices in the microwave for 5 seconds. Dust 1 Tbsp confectioners’ sugar on top, if you‘d like, and serve. The cake literally melts in your mouth!
To Store
- You can keep the cake in an airtight container and store in the refrigerator for 3 days and in the freezer for a month.


First off, I’m not sure what I’d do without this website. I’ve tried three recipes already and my picky Asian family liked all of them. I baked this cake yesterday and it’s super tasty! I will be doubling the recipe next time
Hello Hera! Aww. We are so happy to hear your family likes Nami’s recipes.
Thank you for trying her recipes and for your kind feedback. Happy Cooking!
Hi, Nami!
The cake tasted amazing, but I was unable to cut through the cake (the inside seemed very very moist) with clean slices. I let it cool for four hours, then in the fridge overnight. Please let me know if you have any other tips to get a slightly more solid cake.
Hello, Wah. Thank you very much for trying Nami’s recipe!
This cake tends to be moist, but if you prefer, you may bake it for a little longer next time.🙂
We hope this helped!
Hi Nami, What oven setting are you using? Is it fan forced, or something else?
Hi Phuong, Thank you so much for trying Nami’s recipe!
Nami used a regular conventional oven for this recipe (no fan forced). 🙂
Unless otherwise specified in the recipe card, 99% of her recipes use the same.
We hope this helps!
Hi Nami, I’m really looking forward to making this cake for White Day 🙂 I tried ordering the cake you recommended from your link, but I received a regular cake pan without a push-up bottom as it appears in the picture on the listing. Does your pan have a pop-up bottom, or does that not matter? Debating whether to ask for a replacement but not sure if they did actually send the right one or not.
Hi Leslie, Thank you so much for trying Nami’s recipe.
Nami’s cake pan has a push-up bottom, as advertised in the linked shop. (You can see how it worked in Nami’s video at 8:11) It must be the seller’s mistake.
We recommend double-checking your order description and contacting the Amazon shop. We hope this helps!